
[av_textblock size=” font_color=” color=” av-medium-font-size=” av-small-font-size=” av-mini-font-size=” av_uid=’av-kkvje4kh’ admin_preview_bg=”]
CMBS Borrower Reporting
Quarterly CMBS borrower reporting can be one of the most time consuming and clumsy aspects of managing a property.
We make the process faster and easier than ever. Basically:
- Import your deal from our complete database of CMBS loans.
- Enter property and deal info.
- E-sign your report.
- Send your report.
Once you’ve set up reporting for a deal, the quarterly process becomes automated — and even faster and easier. We tell you which reports are due when so you never miss a deadline.
For more details on how to use this fantastic tool, scroll down the page or use these navigation links:
Go to the Borrower Reporting page
When you are at the Portfolio level of the app (not inside an individual deal), hover the CMBS Data tab and click on the CMBS Borrower Reporting sublink.
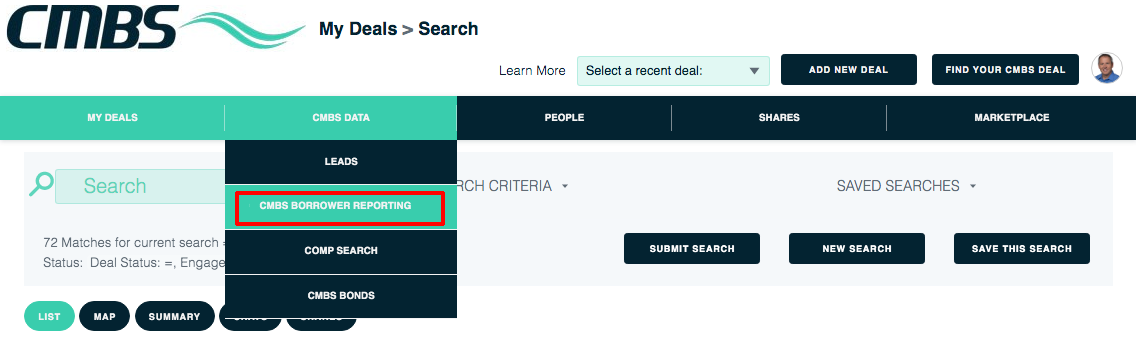
Set up reporting for a CMBS loan
Before you do reporting for a loan, you need to do a quick setup process.
On the main Borrower Reporting page, click the Set Up Reporting For A CMBS Loan button.
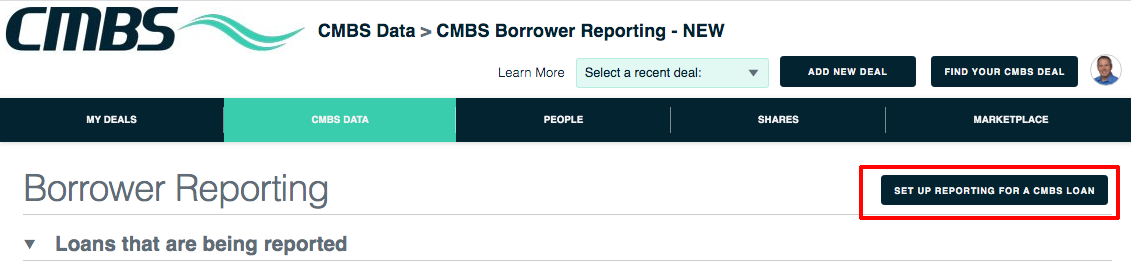
This brings up a sweet new page. Your first step is to find your loan in our complete database of CMBS loans.
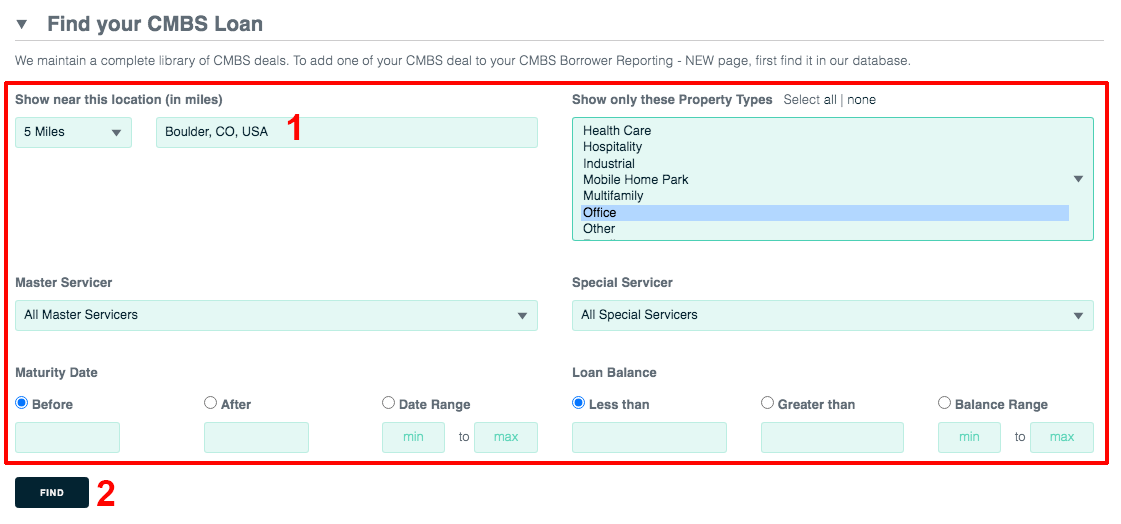
Find your CMBS loan
1. Use the provided filters to search for your loan. The easiest way might be to use the exact street address, but you can also search by
- Radius from a given location (e.g. a city).
- Property types
- Master servicer name
- Special servicer name
- Maturity date
- Loan balance
In this example we’re looking for an office within 5 miles of Boulder, CO.
2. Once you’ve entered your desired search terms, click the Find button.
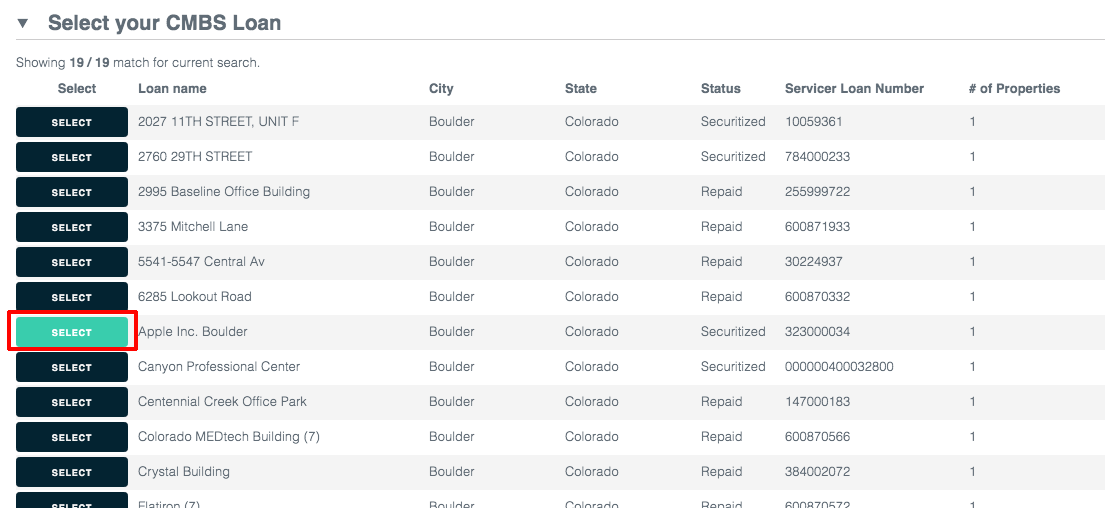
Select your CMBS loan
Boom! The ensuing page shows a list of matching loans. Find your loan and click its Select button.
Edit the setup info
After you select your loan, the Setup Info pane opens.
1. Enter as much information as you like, starting with the required fields (frequency, as of date, master servicer email). You can edit this any time. Of special note:
- Days due within: This is how many days the report is due within the end of the quarter.
- Days for reminder: This is how many days before the due date we’ll send you a reminder email.
2. When you’re ready, click the Update button.

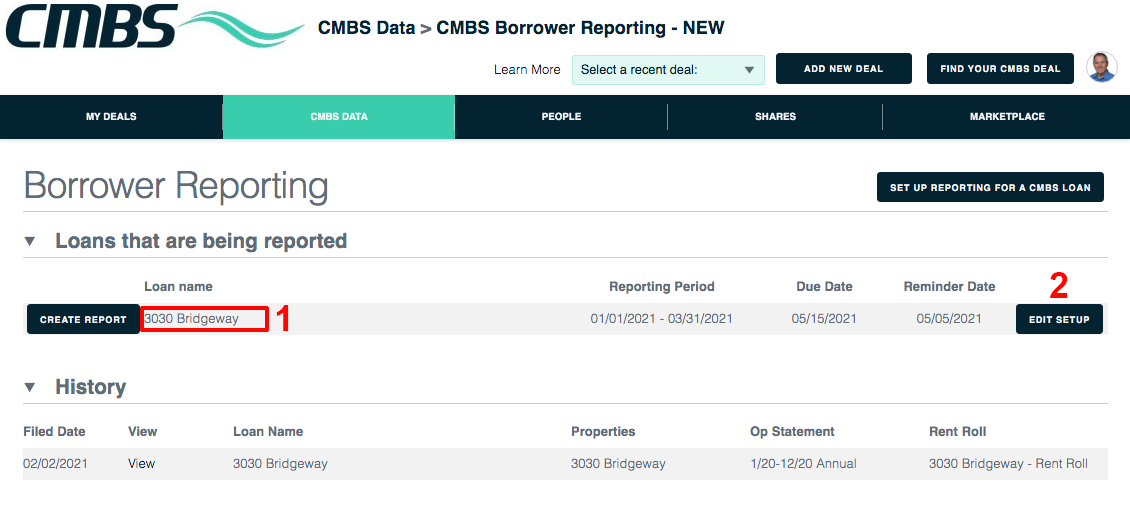
1. After you click Update, this loan will be listed on the main Borrower Reporting page under Loans That Are Being Reported.
2. If you want to edit the setup info, click the Edit Setup button. On that page make your changes then click the Update button, which brings you back to this page.
Create a report
When it’s time to create a report, find the loan in the Loans That Are Being Reported Section and click its Create Report button.

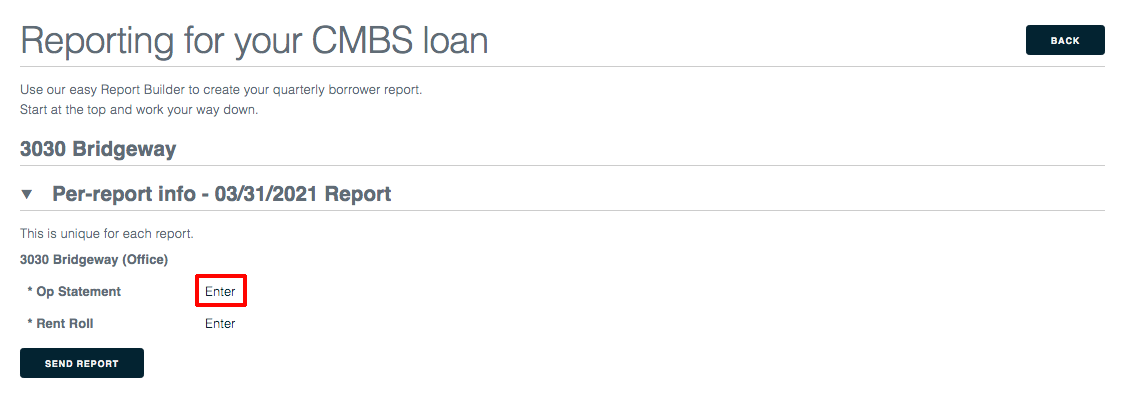
Enter an operating statement
Go down to where the page says Op Statement and click the Enter link.
We provide a few easy ways to enter your operating statement.
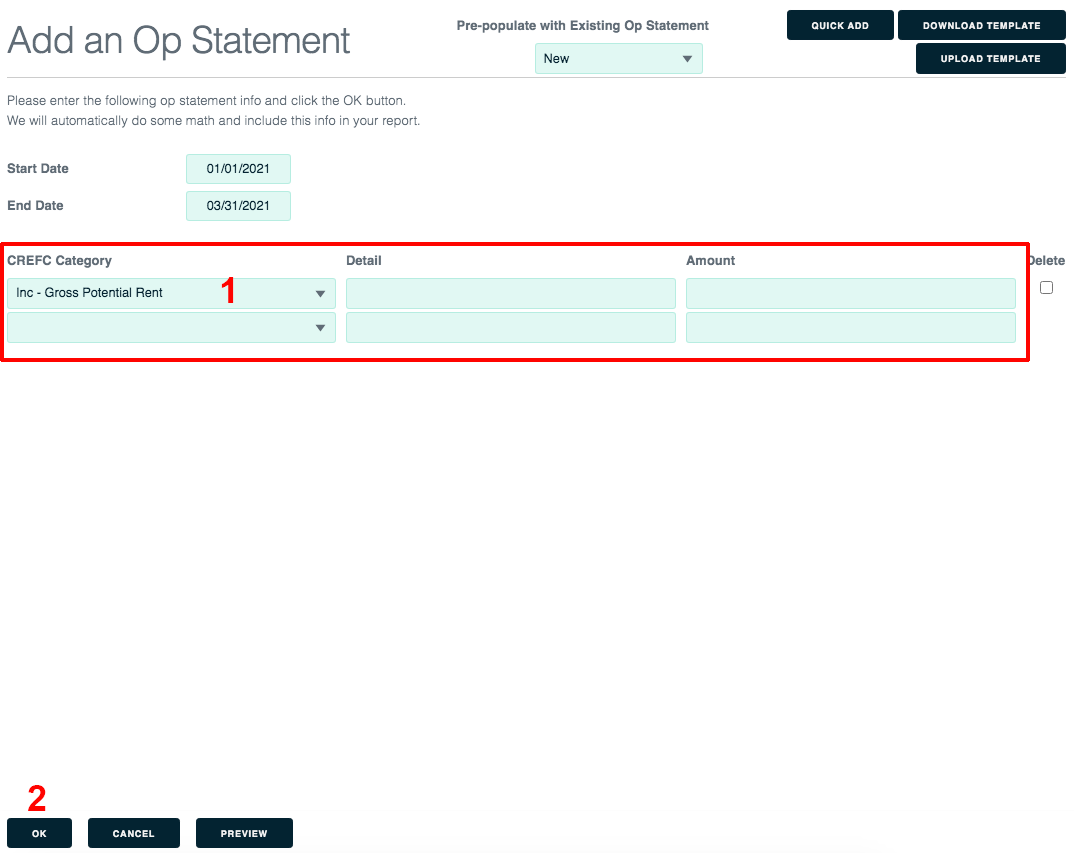
A) Use the fields on the page
This is a fine option for the first time you enter an op statement for this loan.
1) Select a CREFC category in the left menu, then enter Detail info (optional) and Amount. Another row will appear automatically.
2) Repeat this process until you’re finished, then click the OK button.
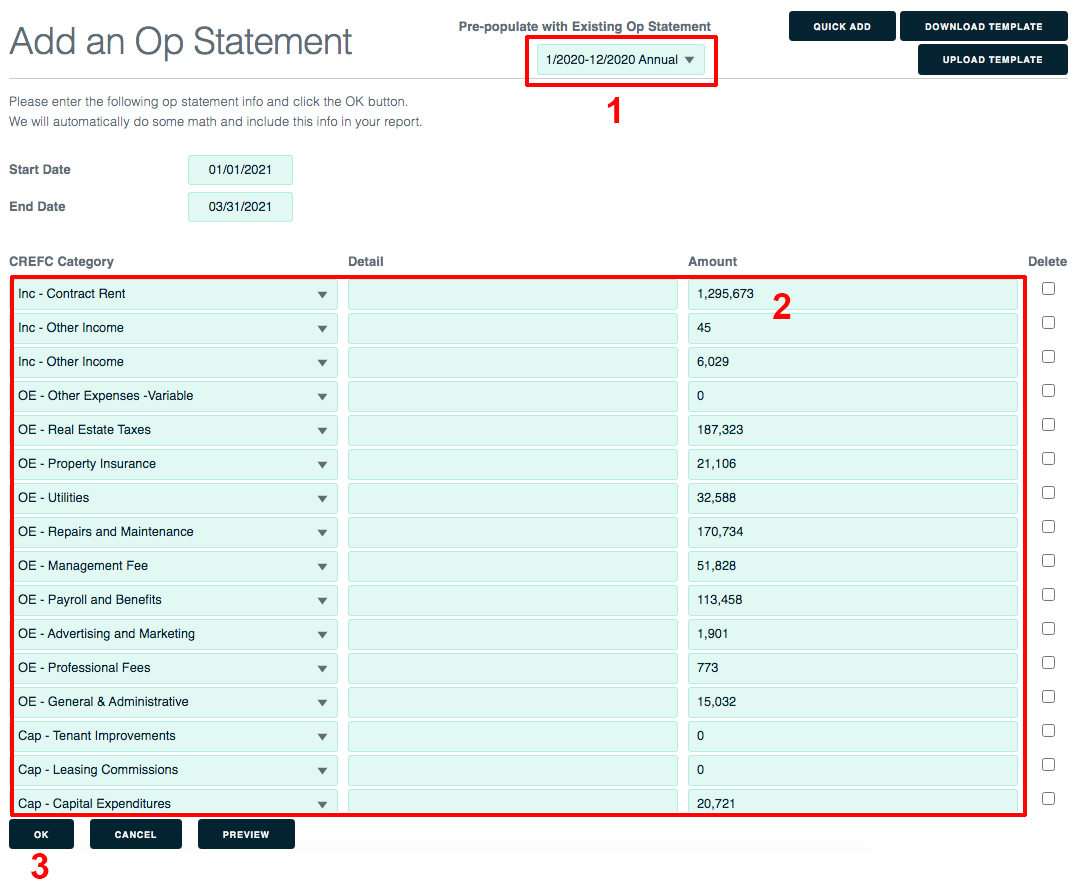
B) Pre-populate with an existing Op Statement
Pro tip: If you’ve already entered at least one op statement for this loan, this saves a lot of time.
1. Select an op statement in this menu.
2. That op statement’s info will be displayed. Make any edits you need, including start and end date.
3. Click the OK button.
C) Quick Add
Here’s another good way to enter a first op statement for this loan.
On the main Add an Op Statement screen, go to the CREFC Category menu. Select a category you want to include. When you do this, another row will appear. Select your next category. Repeat this process until you’ve entered all of your categories.
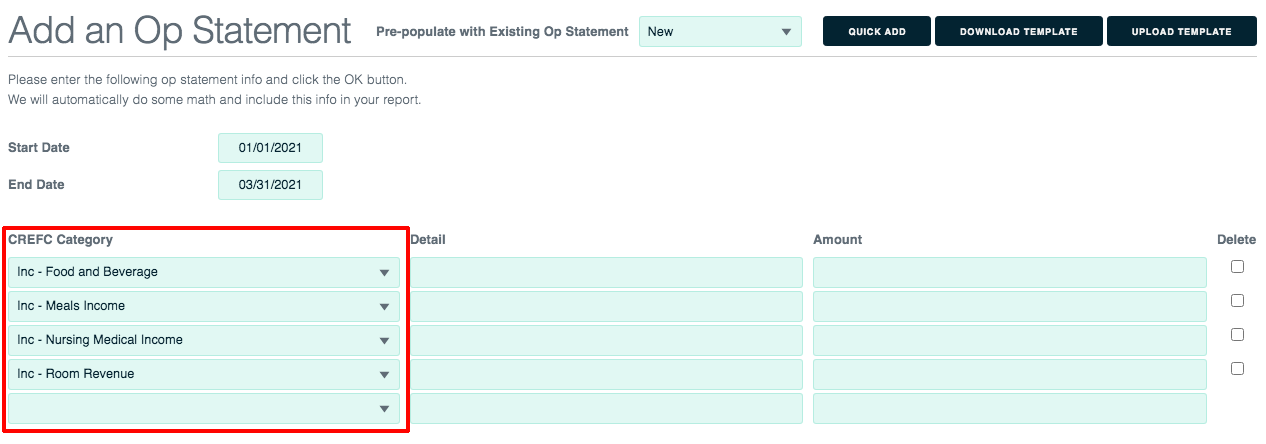
After you’ve entered your CREFC categories, click the Quick Add button.
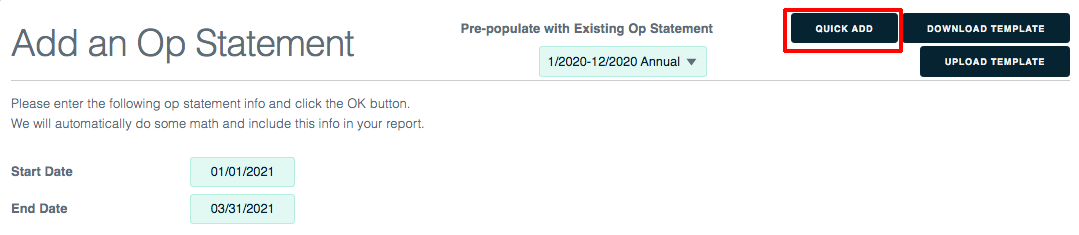
1. The Quick Add screen will come up with the CREFC categories populated.
2. Type or copy/paste values into the Detail (optional) and Amount fields, each on its own line. To bring data from Excel, select the column header, select copy, then paste into one of the text boxes.
Make sure the detail and amount values match the rows of your categories!
3. When you’re finished, click the OK button.

D) Use an Excel template
To quickly copy/paste lots of data from Excel, give this option a try.
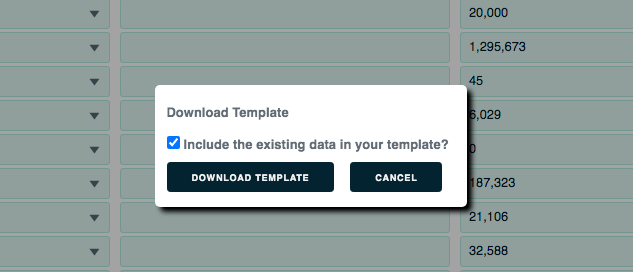
Click the Download Template button.

A popup window will come up.
Using the checkbox, indicate whether you want the currently displayed op statement info (if any is displayed) to be included in the template. Click the Download Template button, and an Excel file will download to your computer.
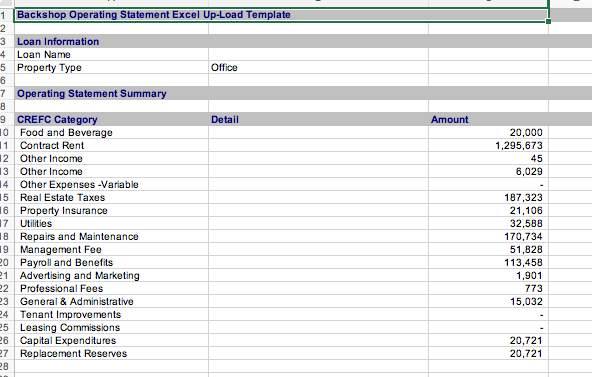
Open the Excel file. Enter or update your info, then save and close the file.
Go back to the Add an Op Statement screen.
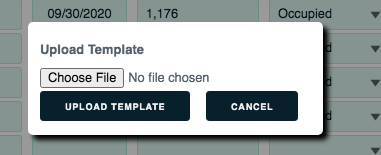
Click the Upload Template button.

A sweet popup window pops up.
Click Choose File to find the Excel file on your computer, then click the Upload Template button.

The data from our Excel file will be displayed on the Add an Op Statement page.
Click the OK button and you’re good to go!

After you add an op statement, its Enter link becomes Edit. If you need to make edits, click that link.
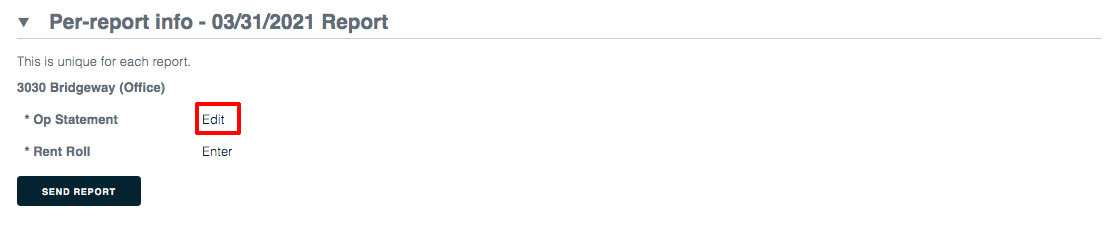
Enter a rent roll
Go down to where the page says Rent Roll and click the Enter link.
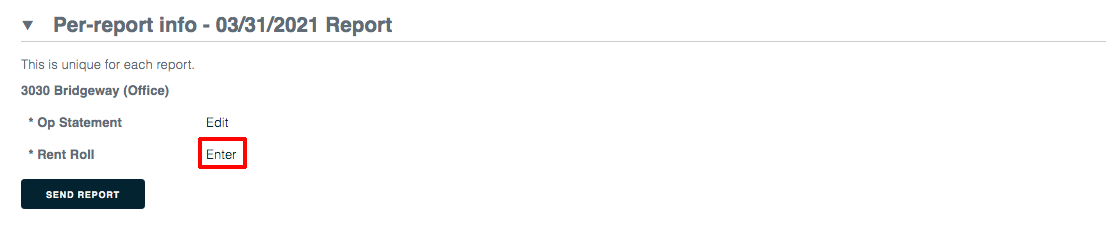
We provide a few easy ways to add a rent roll to this report.
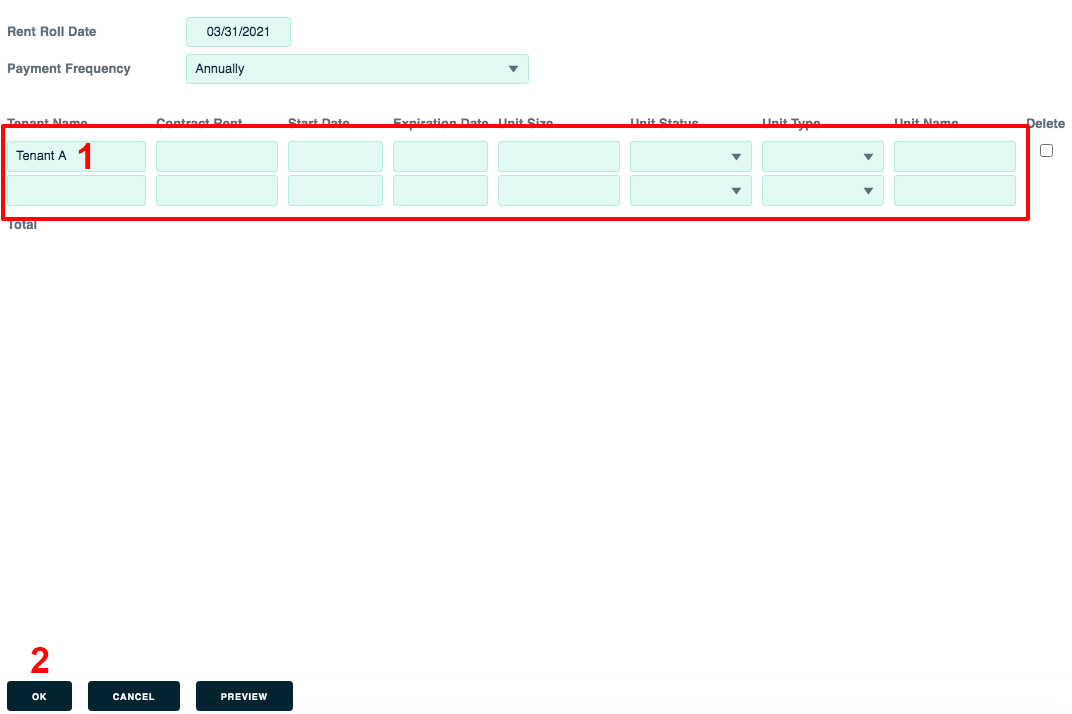
A) Use the fields on the page
This is a fine way to enter a small amount of info, especially if this is the first time you’ve entered a rent roll for this deal.
1. Enter tenant info. Each tenant gets its own line. When you populate a line, another one automatically displays.
2. When you’re finished, click the OK button.
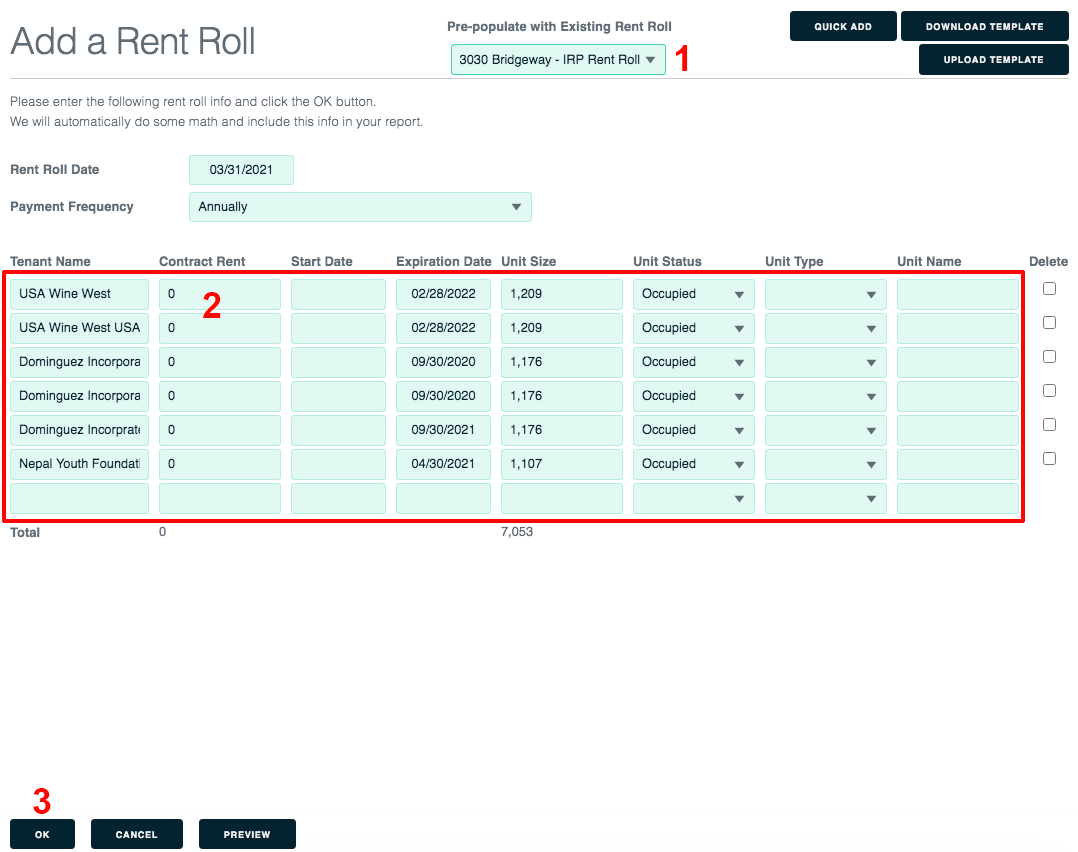
B) Pre-populate with existing rent roll
This is awesomely easy if you’ve already entered at least one rent roll for this deal.
1. Select a rent roll from this menu.
2. Edit the information to your liking.
3. Click the OK button.
C) Quick Add
Here’s another good way to enter a first rent roll for this loan.
On the main Add a Rent Roll page, click the Quick Add button.

Before you start entering your tenant info, organize your text file or spreadsheet so all tenants with the same unit status and unit type are listed together. For example:
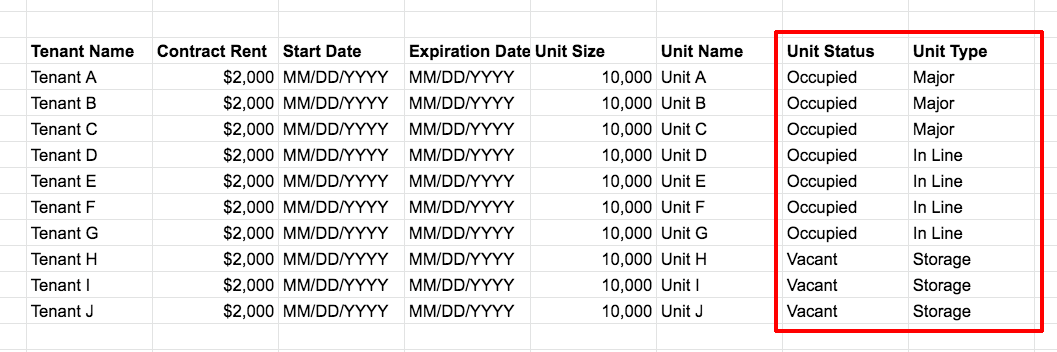
You’ll be working in batches of tenants that have the same Unit Status and Unit Type. For each batch:
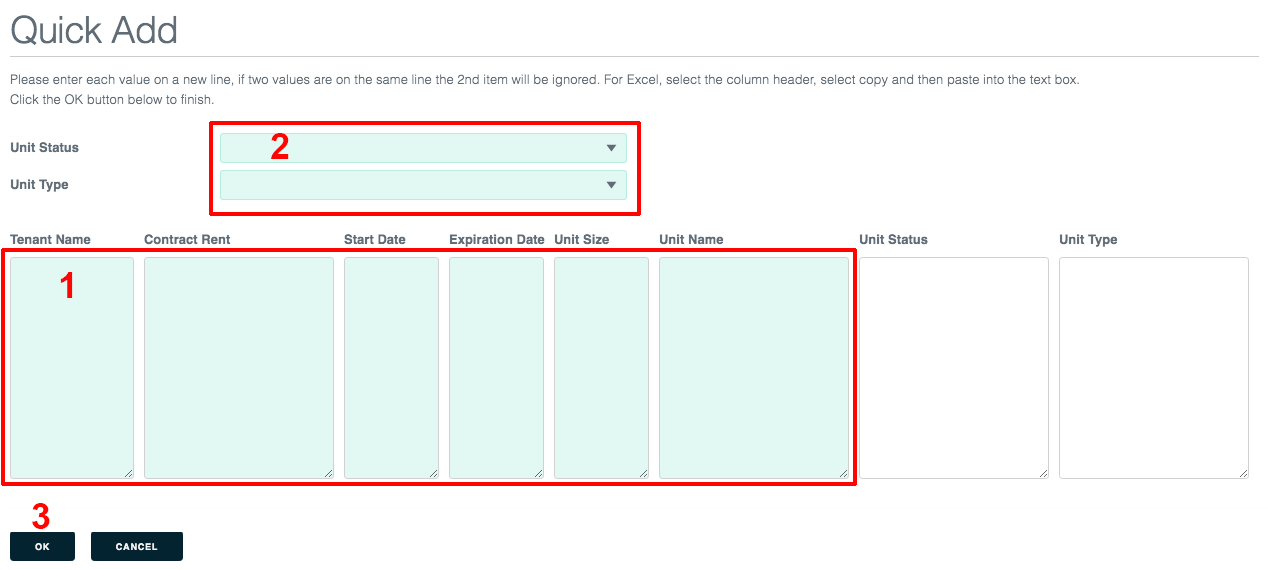
1. Type or copy/paste your info, with each value on its own line, in the Tenant Name, Contract Rent, Start Date, Expiration Date, Unit Size and Unit Name fields.
If you’re bringing data from Excel, select the column header, select copy then paste into the appropriate text field.
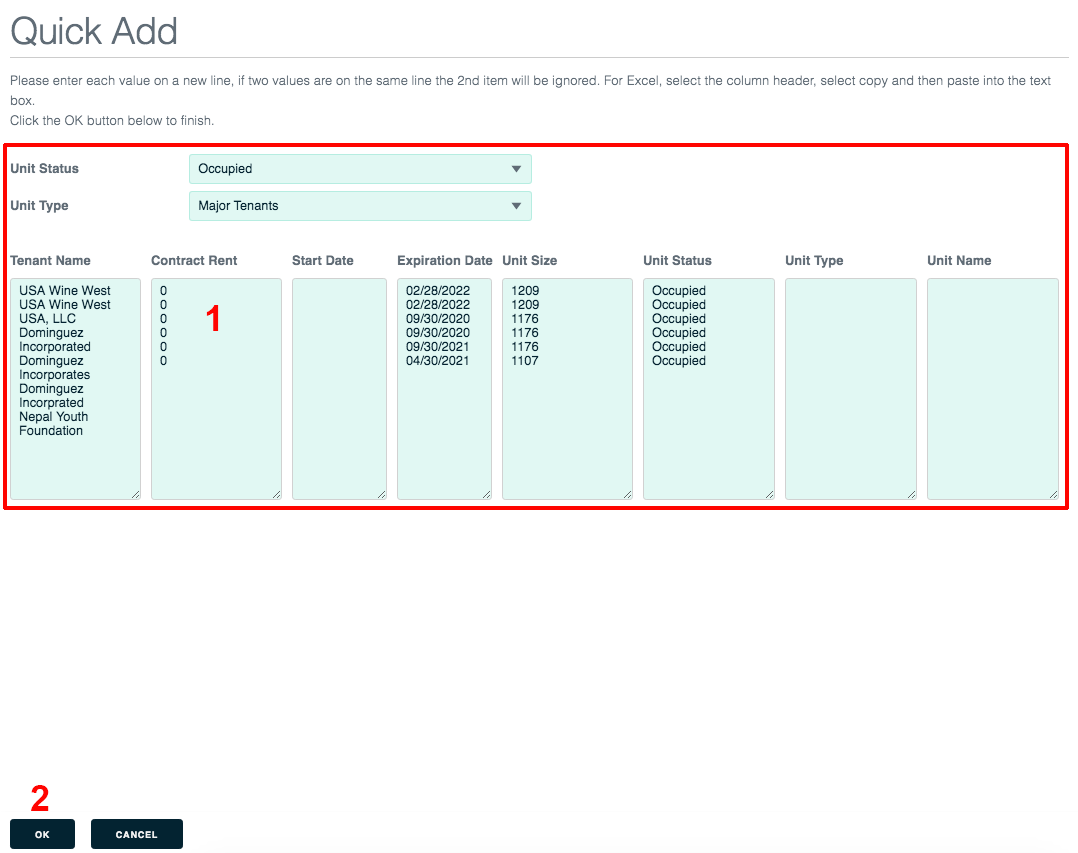
2. Select the Unit Status and Unit Type that apply to that batch of tenants.
3. Click the OK button. The Unit Status and Unit Type fields will populate for the tenants you’ve entered.
4. Repeat this process for all of your batches. When you’re finished, click OK again. Right on!
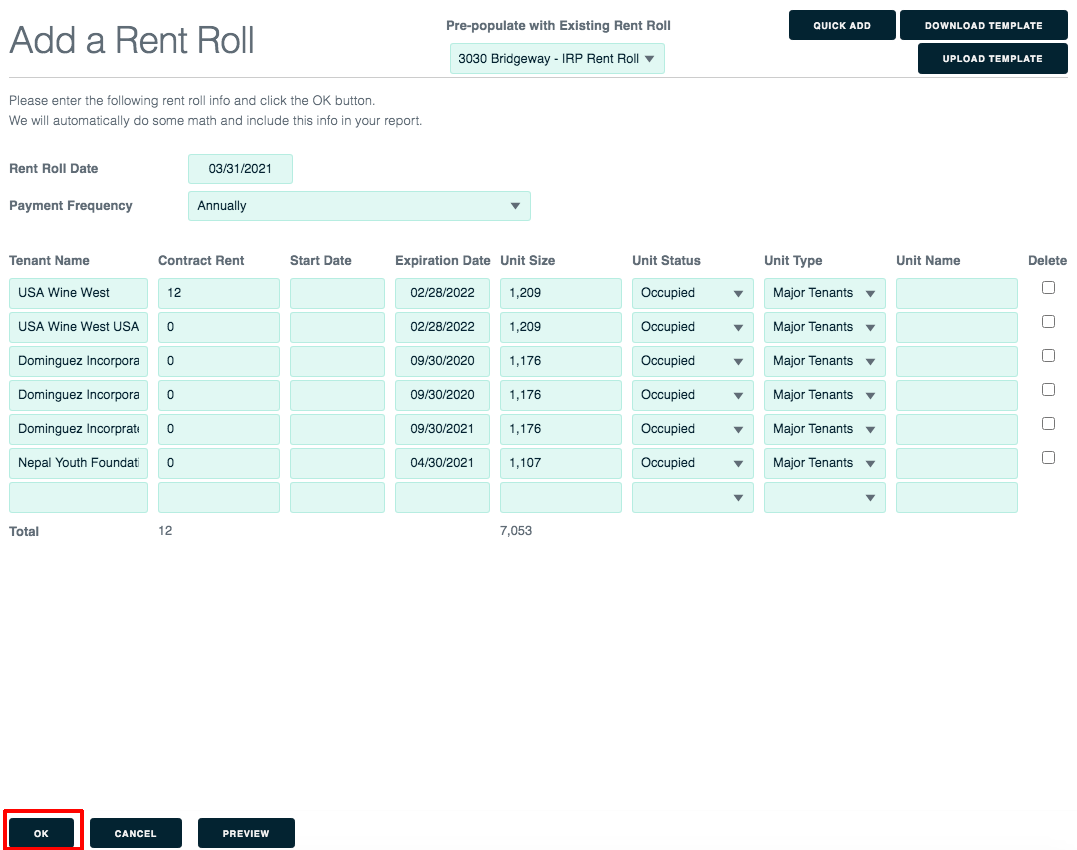
The ensuing screen has fields for all of the critical rent roll info.
1. Type or copy/paste your info, with each value on its own line. If you’re bringing data from Excel, select the column header, select copy then paste into the appropriate text field.
2. When you’re ready, click the OK button.
D) Use an Excel template
To quickly copy/paste lots of data from Excel, give this option a try.
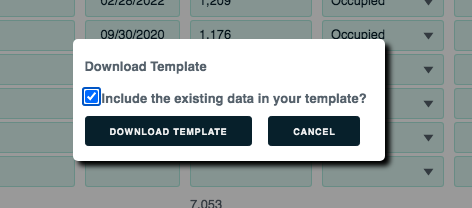
Click the Download Template button.

A popup window will come up.
Using the checkbox, indicate whether you want the currently displayed op statement info (if any is displayed) to be included in the template. Click the Download Template button, and an Excel file will download to your computer.
Open the Excel file. Enter or edit your information. Save and close the Excel file.

Go back to the Add a Rent Roll screen. Click the Upload Template button.

In the popup, click Choose File to locate the Excel template on your computer, then click the Upload Template button.
The data from your Excel template will be displayed on the Add a Rent Roll page. Make edits if you like. Click the OK button and you’re all set.
Send a report
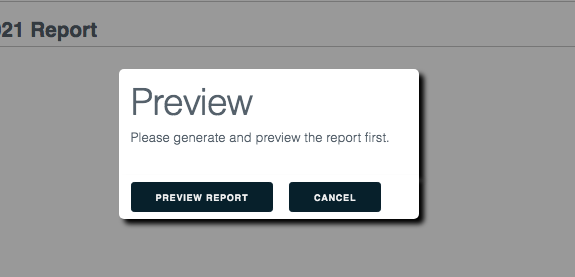
After you enter an op statement and rent roll for your loan, click the Send Report button.

In the popup window, click the Preview Report button.
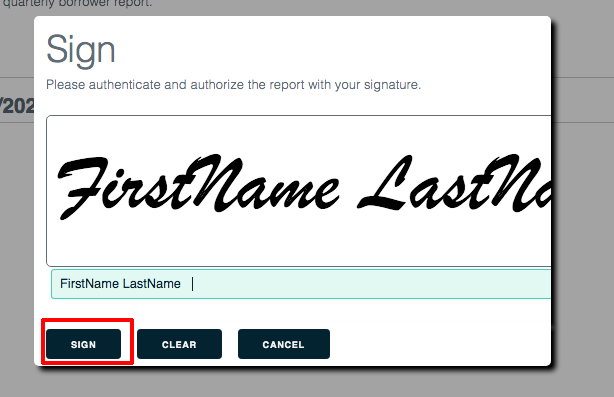
In the next window, sign your name either by writing it in the white field or typing it in the text box (shown).
Click the Sign button.
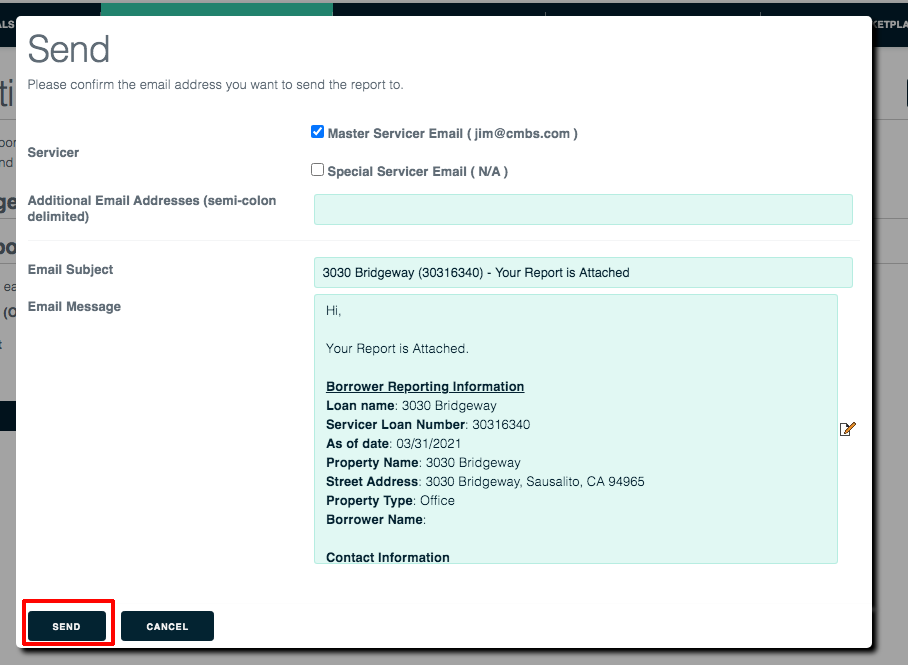
One more popup window: In this one review/edit the email recipients, subject and message. When you’re ready, click the Send button.
Nice work!
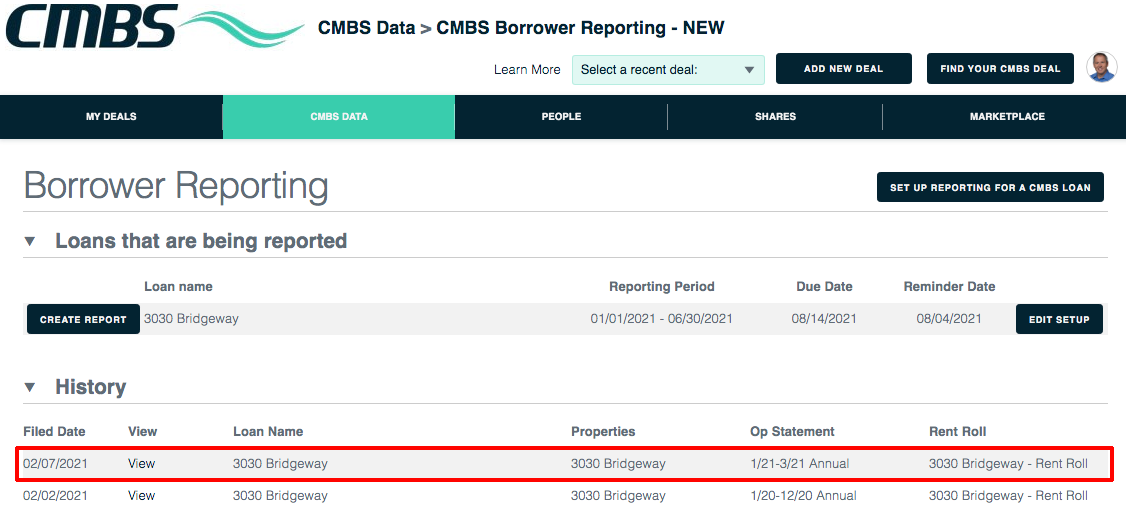
After your report is sent, it’s listed in the History section of the Borrower Reporting page.
<< Return to top of page
[/av_textblock]
[av_comments_list av-desktop-hide=” av-medium-hide=” av-small-hide=” av-mini-hide=” av_uid=’av-v1y3ri’]